 |
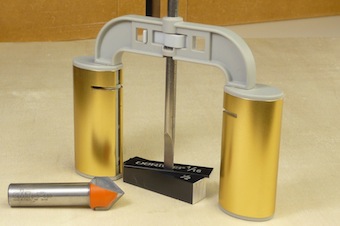
We want to make a V-groove, with the point exactly 9/16” deep and the same distance of 9/16” from the edge of the board. This is a bit special, as we can’t use the rim of the groove to set the distance to the fence, because that distance might vary according to the depth of the cut.
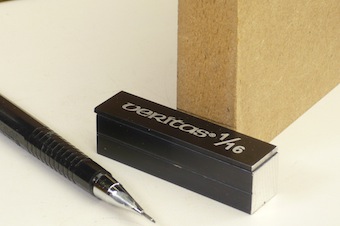
As it happens in this case the cut is deep enough for the side walls to be straight, but that might not be the case with a shallower cut. A combination of set-up blocks (1/2” + 1/16”) registers the pin height. |
 |
We take this to the router bit and set its height: it’s good when the top of the bit just touches the pin. |
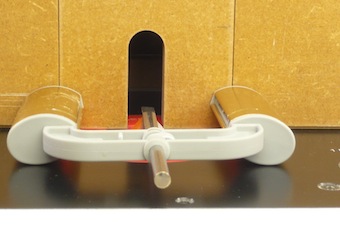 |
Without disturbing the position of the pin, the feet are twisted, bringing the thin blade end of the pin to the same height as the sharp tip of the router bit.
This is where the 2-Axis Depth Gauge shines!
|
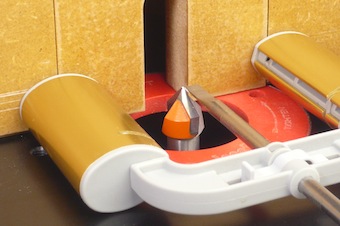 |
The 2-Axis Depth Gauge keeps its setting while being moved around.
Once the fence touches the feet the set-up is complete. |
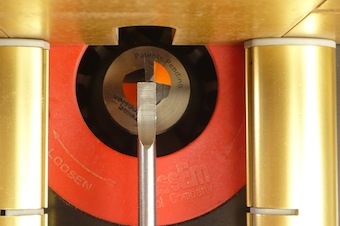 |
Another angle of view: this is what it looks like from above. |
 |
Just to check on the upcoming routing operation: a thin line where the cut should center. |
 |
The resulting V-groove is exactly in the correct place! |
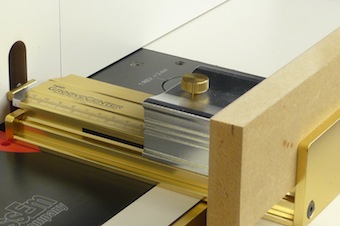 |
If you want to make a small centered V groove in the side of your board this is how to do it. As usual, set up the router fence with the help of the GrooveCenter. Look here to do that. |
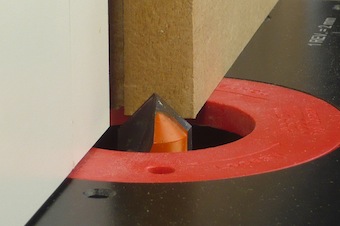 |
Chuck in your V groove bit. Here it extends just enough to leave a small identical edge on either side. |
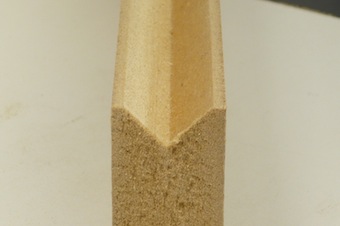 |
How many test cuts would this have taken without the GrooveCenter? None with it! |
Related Articles


